Data Employee
Used to input new employee data, including deleting and downloading active or inactive employee data.
To use it, you can follow these steps.
- Enter menu
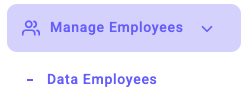
- Click the Add Employee button

- Fill in and complete the required data
- Click save
Note
The first photo of the employee when taking attendance will be the main profile photo in the employee's Kerjoo account. Then, the employee can change it independently with the approval of the admin.
How to Change Profile Photo via Admin Panel
- Enter menu
- Select the employee whose profile picture will be changed
 Click the pencil icon button to edit the employee profile
 Select the photo that will be uploaded.
- Click Save.
Additional Notes: :
If there are problems related to employee profile photos
If there are problems related to the employee's profile photo, please change the photo to a photo where the facial area is visible, taken upright, and with sufficient lighting.
If the employee still has remaining leave rights, then:
- The company must input how many days of leave the employee still has and the expiration date of the leave.
- If HR does not input the remaining days of leave, the employee cannot apply for leave.
- When applying, the system will immediately reject it because the leave quota is zero (0).
How employees can access the Kerjoo mobile application
- Employees can access the Kerjoo mobile application by entering their email when registering an employee.
- The password can be the same for multiple employees if inputting employees with Excel imports.
- The employee can change the password in the employee's account independently.
Icon Description on the Employee's Menu
 This icon is used to set up automatic paid leave updates.
 This icon is used to attach files related to employee data, such as employee contract documents.
 This icon is used to view the paid leave requested histories.
 The 3-dot icon in the action column can be used to view details, change history, and delete employee data.
Import Excel
Import Excel is used to input employee data from an Excel file into the Kerjoo database. Before using it, you should download the Excel form provided.
- Enter menu
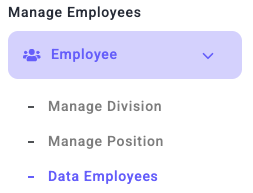
- Click the Import Excel button
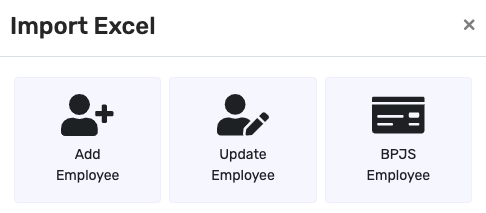
- Fill in the Division section
- Select the file that has been prepared before

- Click the Process button

Export Excel
The Excel Export feature can download employee data registered on the admin panel.
- Enter menu
- Click the Export Excel button
- Fill in the Division section

- Click the Process button
Bulk Action
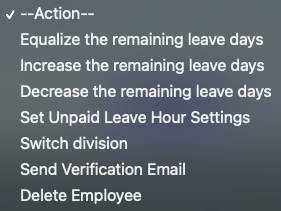
Bulk Action is used to add, equalize, or reduce the leave quota owned by employees and can be used to transfer employees from one division to another division
- Enter menu
- Click the Bulk Action button
- Select the intended target

- Choose the action you would like to take.
- Click the Process button.
Delete Employee Data
Used when you want to delete employee data that is no longer active. To use it, follow the steps below.
- Enter the menu
- Select the employee's name.
- Click the Profile > Personal Information tab, then scroll down.
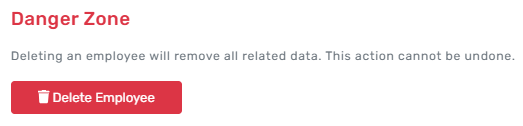
- Click delete employee.
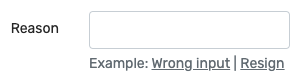
- Fill in the reason for the deletion
- Click the delete button

When the employee data are deleted, you can check again by clicking the Delete Employee button. 
Then, the Deleted Employee page will show employee data that you have deleted before, along with the reason and timing of the deletion.
Employee Data Deleted
Here is how to download deleted employee data. Click Menu:
-
- The deleted employee data can be downloaded and will be automatically saved to the device by clicking the icon.
 Clicking the Export Excel icon will download deleted employee data, which will be saved automatically on the device.
Employee Data Details
This feature allows you to view detailed employee information, including:
- Employee Profile :


- Personal identity, such as job title
- employee time zone,
- Kerjoo mobile account
- employment status.
- Devices Used: Details of the registered device used to access the Kerjoo mobile application.


- Work Schedule: Information on the employee’s set working hours and shifts.


- Attendance: Employee attendance history and timesheets.


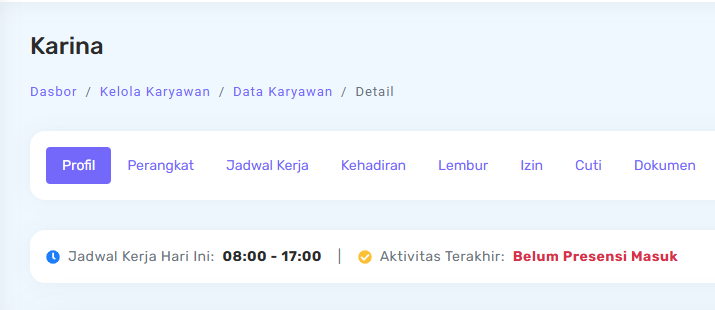
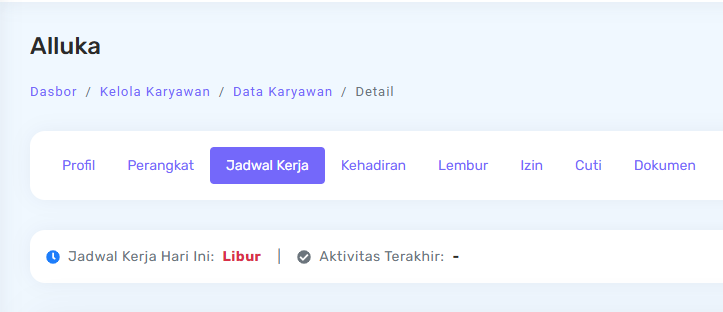
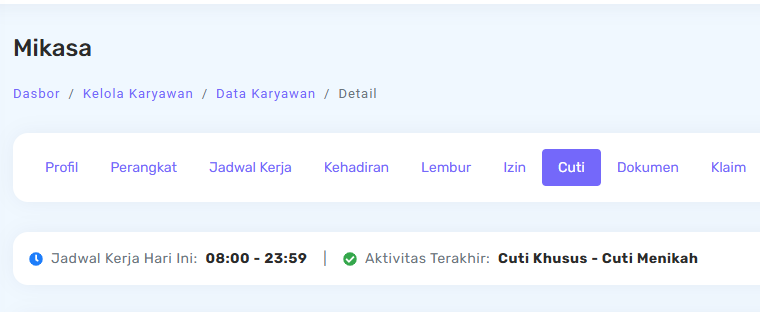
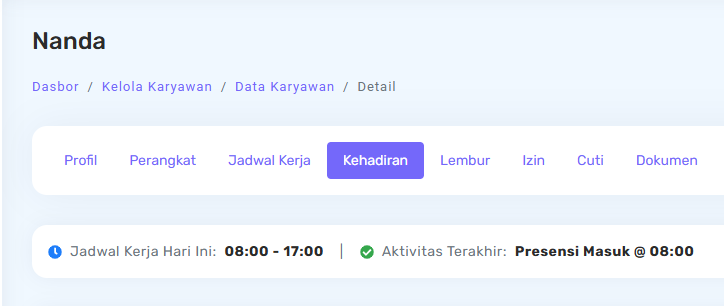
In the Last Activity section, the system displays information based on the employee's attendance status for the day:
- If there is no attendance recorded yet (no clock-in), the system will show the current leave or permission status, or indicate that the employee has not checked in.
- If attendance has been recorded, the system will display the most recent attendance activity for that day, such as clock-in or clock-out along with the time.
This allows users to quickly understand the employee's latest attendance status without needing to open detailed information.
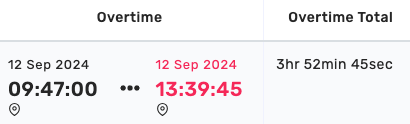
- Overtime: Data related to overtime that has been done.

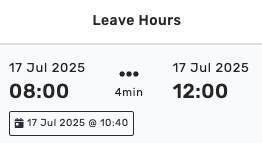
- Permission and Leave: Permission records and available leave quota information.

- Documents: Access to employee-related documents.

- Claims: Information on claims submitted by employees.

- Payroll: Payroll and employee benefits data.
