Client Visit
How to record client visits in the Kerjoo app when you arrive and when you leave, with location, evidence files, and signatures.
Field employees use the Client Visit menu to record when they arrive at and leave a client location. Each visit has two stages: Depart when you arrive at the client and Return when the visit is finished.
The menu has three tabs:
- Visit List: your visit history, including visits that are still On Going.
- Visit Schedule: visits your admin has scheduled for you.
- Sales Recap: a recap of products sold during visits, if your company uses the sales feature.
When You Arrive at the Client
Start a new visit
On Home, tap the Client Visit menu. In the Visit List tab, tap the + Client Visit button. If the visit was scheduled, open the Visit Schedule tab and tap Start on that schedule.
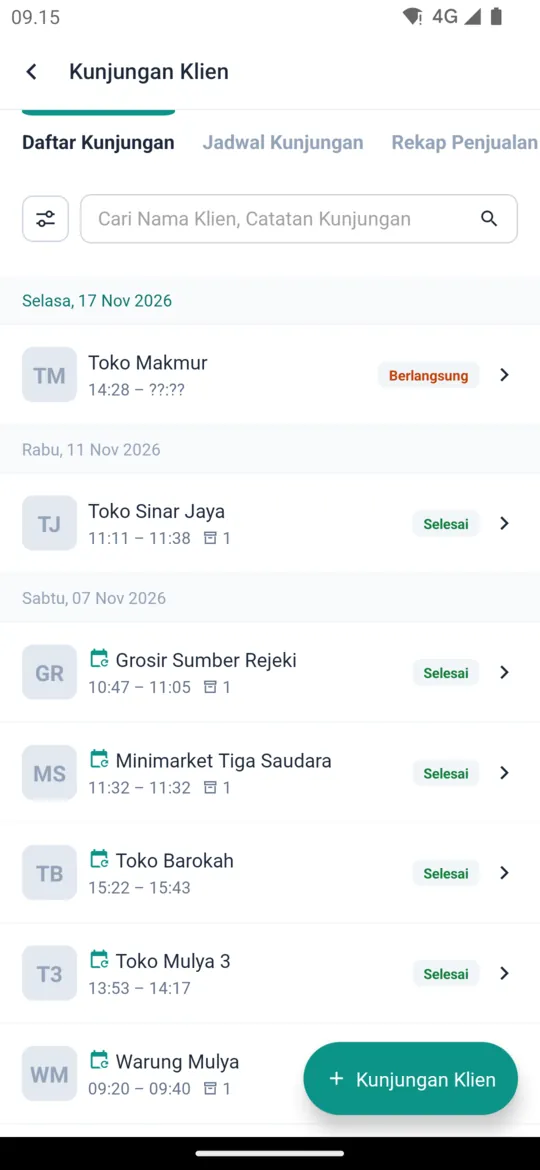
Check your location
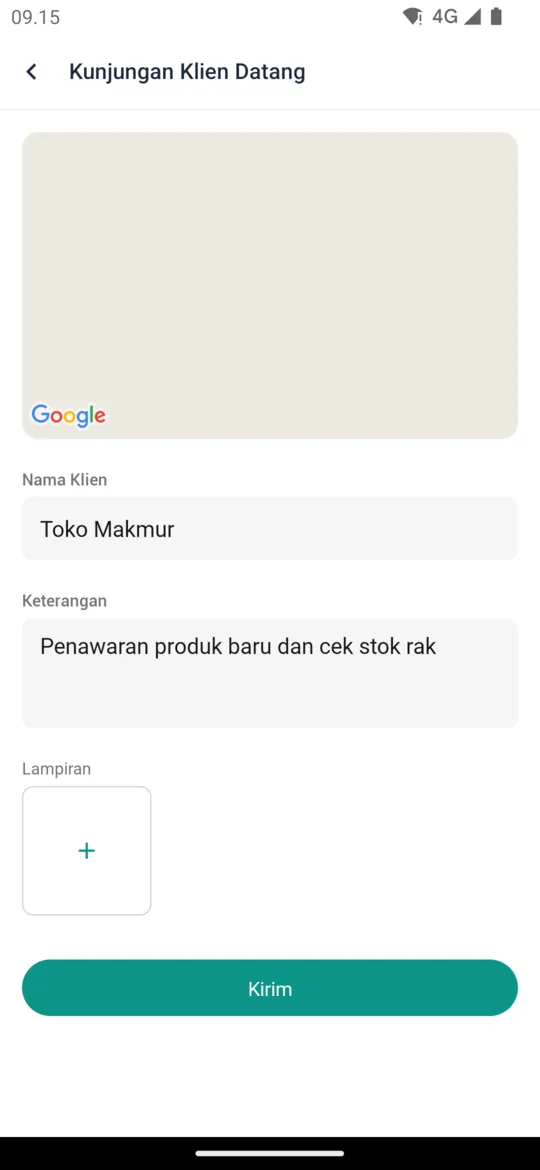
The Client Visit Depart page shows a map of your current location. Wait until your location is found.
Fill in the visit details
Enter or select the Client Name, then write a Description, such as your planned activity. If the client has additional fields or your company uses the product feature, fill those in too.
Add attachments
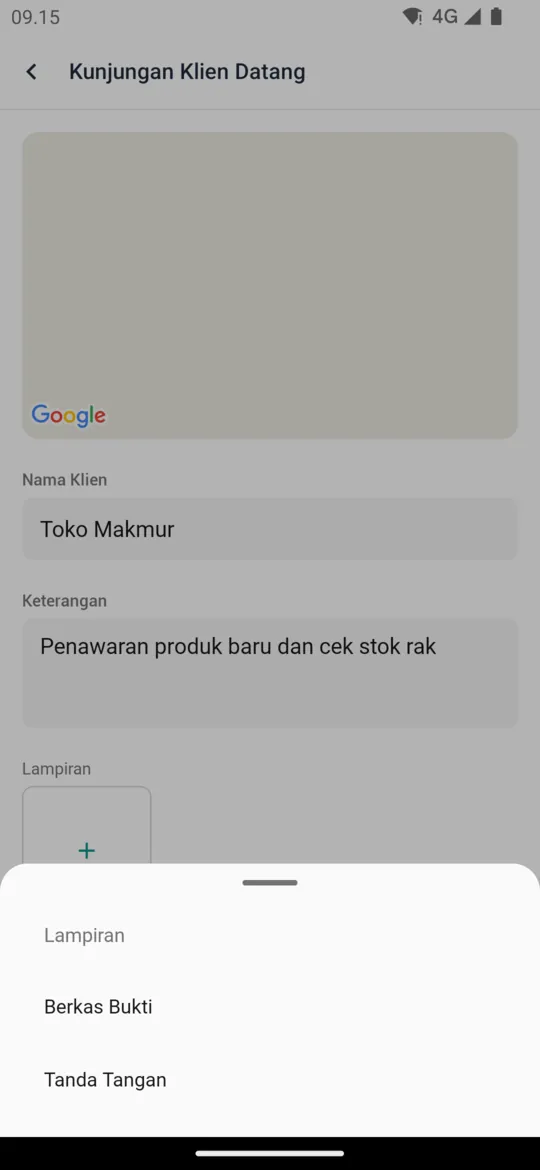
Tap Attachments, then choose Evidence Files to add photos or files, such as a photo of the location, or Signature to have the client sign directly on your phone screen.
Send
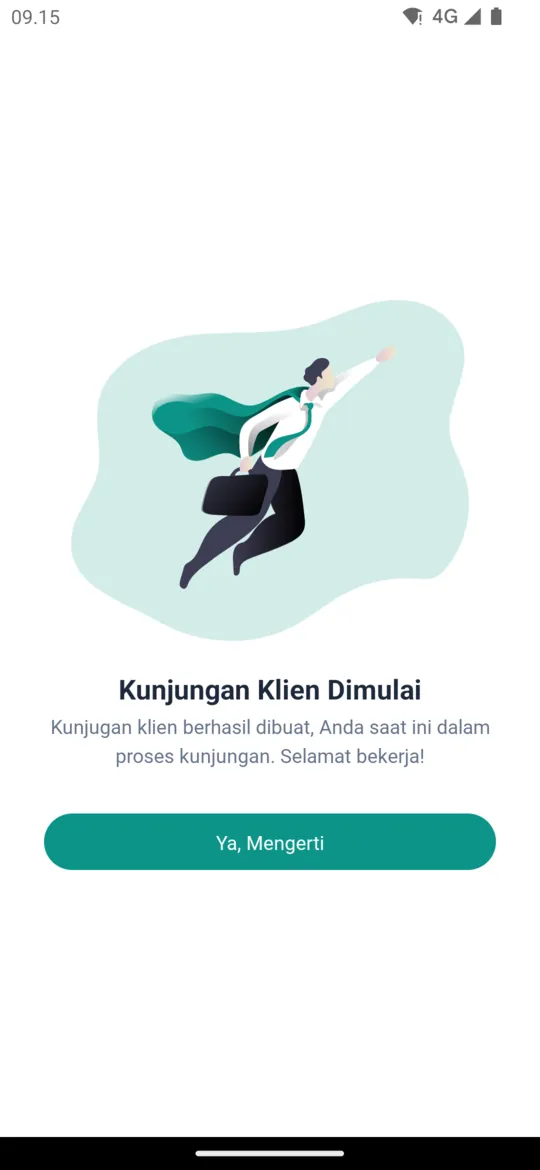
Tap Send. A Client Visit Begins screen appears; tap Yeah, Understood. The visit is recorded with the status On Going.
When You Leave the Client
Open the ongoing visit
Open the Client Visit menu, then in the Visit List tab tap the visit marked On Going.
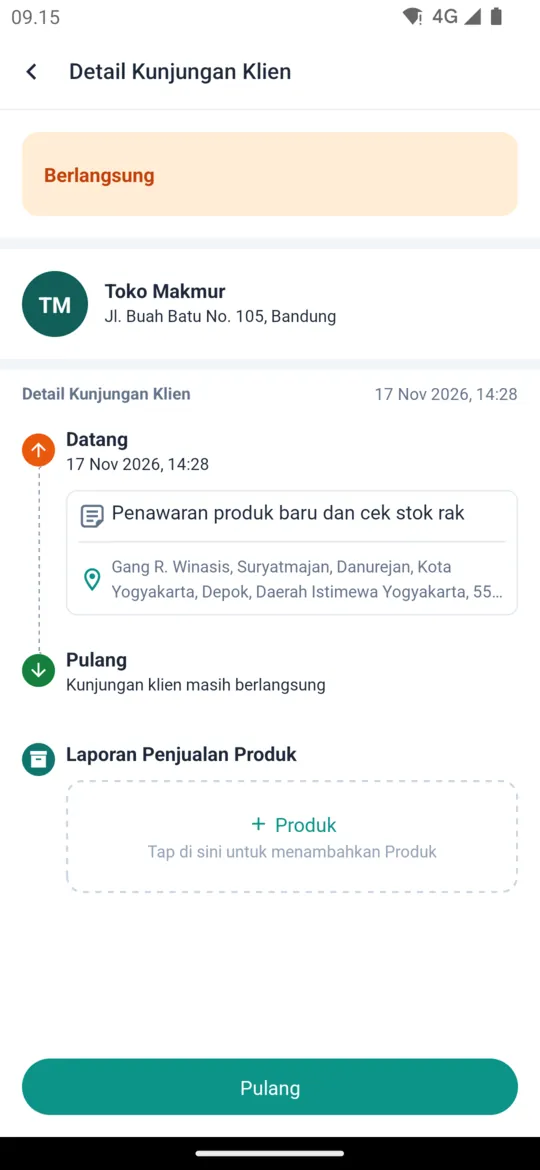
Tap Return
The Client Visit Detail page shows your arrival time and return status. Tap Return.
Fill in the visit result
On the Client Visit Return page, write a Description of the results, then add evidence files or a signature if needed.
Send
Tap Send. The visit is finished and its duration is recorded.
For admins:
Visit data is monitored in Visits. Clients and visit schedules are managed in Clients and Visit Schedule.